Travis Austin

Author Archives: Travis Austin

Known as an expert among experts, Travis travels, speaks, and provides business consulting services to IT Service Providers and Autotask users worldwide. Travis was named Autotask's "Most Innovative Community Member" for his work with integrations and consulting and was has been named a most influential person in the IT Services industry on the MSP Mentor 250 and SMB 150.

Use Purchase Order Numbers to Logically Separate Autotask Invoice Items

The Challenge

Sometimes, it may make sense to create a few separate invoices for a customer in a billing cycle. Maybe this month you provided ongoing managed services (one invoice), but also completed a special one-time project this month (another invoice) and also want to separate out any hourly overage charges (another invoice).

Without using purchase order numbers, keeping these items straight at invoicing time can be complicated. The person who performs the Approve & Post operations must approve only the items for one type of invoice at first and then create that one invoice. Once the first invoice is created, they have to go back to Approve & Post to approve and then create the second invoice, and then Approve & Post and then create the third invoice.

Even if you have only one customer who needs separated invoices in a given billing period, this can be tedious, time consuming, and easy to mess up, to say the least. Imagine how much more complicated this gets with two, five, a dozen or more customers!

Using Purchase Order Numbers

By simply setting a Purchase Order Number for each contract, the entire process is simple, straight forward, efficient, and much less prone to errors.

The person performing the Approve & Post operations doesn’t need to know what items should be separated onto their own invoices. Instead, they just Approve & Post as usual and Autotask splits the items onto separate invoices automatically.

When they get to creating the invoices, the Items to Invoice screen clearly separates out the items for each purchase order number into their own invoices. Just create invoices as usual. Instead of one invoice per account, Autotask will create one invoice for each purchase order number.

If you have customers for whom you’d like to separate out invoices, simply edit each of their contracts and add a purchase order number. If you assign a number or name to the contracts when your customers sign them, you can put the actual contract number or name directly in the Purchase Order Number field. If you don’t name or number your contracts with customers, you can set the Purchase Order Number field to anything you want. For instance, you might set the Purchase Order Number field to Managed Services effective June 2014, or Server Upgrade Project September 2014.

The power behind this trick really shows itself when you have to use several Autotask contracts to represent a single signed customer agreement. Maybe your customer pays for managed services and buys block hours each month (in which case you would create an Autotask recurring services contract and a block hours contract), or maybe a server installation project is flat-rate for part of the project but hourly for the other parts of the contract.

Simply enter the same purchase order number into all the related Autotask contracts, and the items for each of the contracts will be combined into a single invoice.

Feedback

Do you have any customers for whom you need to create multiple invoices in a month? Will you be using purchase order numbers to separate your Autotask invoices?

I’d love to hear from you! Leave me a comment below.

Examples of Using Autotask Problem & Incident Management

A Narcoleptic Server

Let’s say that your remote monitoring and management (RMM) system throws an alert for an offline server every afternoon. The alert is for the same server every day, and you simply haven’t had time to figure out what is causing the server to be overloaded and appear offline so consistently. Now, let’s also say that each time the server goes offline, you get a new ticket in Autotask for the server being offline. After a few weeks, you’ll have a bunch of tickets for the same issue. Chances are, two engineers on your team have unknowingly been working on the issue, albeit from two different tickets, and neither knows that the other is working on the issue. How can you more effectively track the root issue (the fact that the server keeps going offline) as well as all the instances of that issue (the ticket from today, and from yesterday, and the day before) without clogging up your ticket system? How do your engineers know what ticket to work on to fix the root issue?

Continue reading

Quickly and easily decode the Autotask Problem Management jargon

Autotask’s Service Desk module now includes ITIL-inspired “problem management” features. This allows you to associate multiple related tickets. I’m convinced that this will help your team be more effective when blasting away issues that sparked a wildfire tickets.

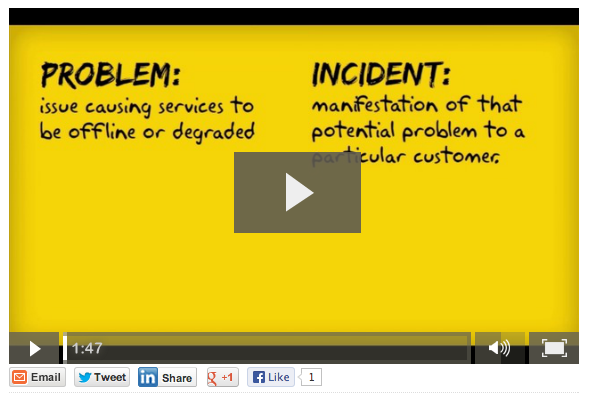
With the new features, some tickets become “problems”, others “incidents”, yet others remain “service requests”. Understanding the terminology is really important to effectively working with this set of features.

Save yourself the time of reading ITIL documentation and watch this 2-minute video. I’ll explain how the ITIL documentation explains these terms, and show you exactly how they work in Autotask.

Have a quick watch, then rest easy. Continue reading

Don’t waste your day trying to figure out the Autotask ticket stopwatch

No, the ticket stopwatch isn’t a waste of time. In fact, I think it’s awesome.

But, when there’s a quick video to help you learn about it in 2 minutes, then figuring it out on your own is a waste of time.

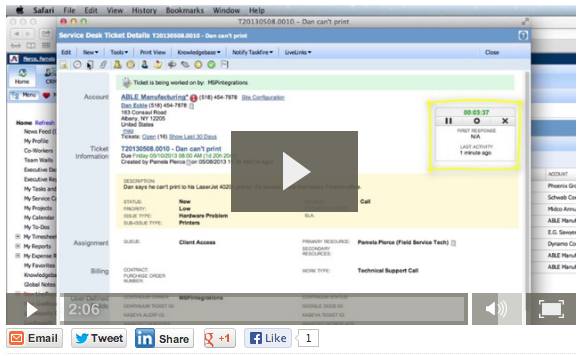
The newest release of Autotask includes a rad new feature they’re calling the “Ticket Stopwatch”. It allows you to keep track of exactly how long you spend working tickets for customers, and you don’t have to remember to open a Time Entry screen before you start working!

The feature is elegant, simple, and effective. In this very short 2-minute video, I’ll quickly show you the key points you need to know to adopt it quickly and easily into your own workflow.

Please give it a quick watch and then leave me a comment (below) and tell me what you think. Thanks!

Now watch, go, and be free!

Service Desk – Ticket Stopwatch

>